
Drywall Repair Cost: Patches, Texture Matching & Repaint
By Renovation Cost Lab Editorial · Last reviewed 2025-01-01
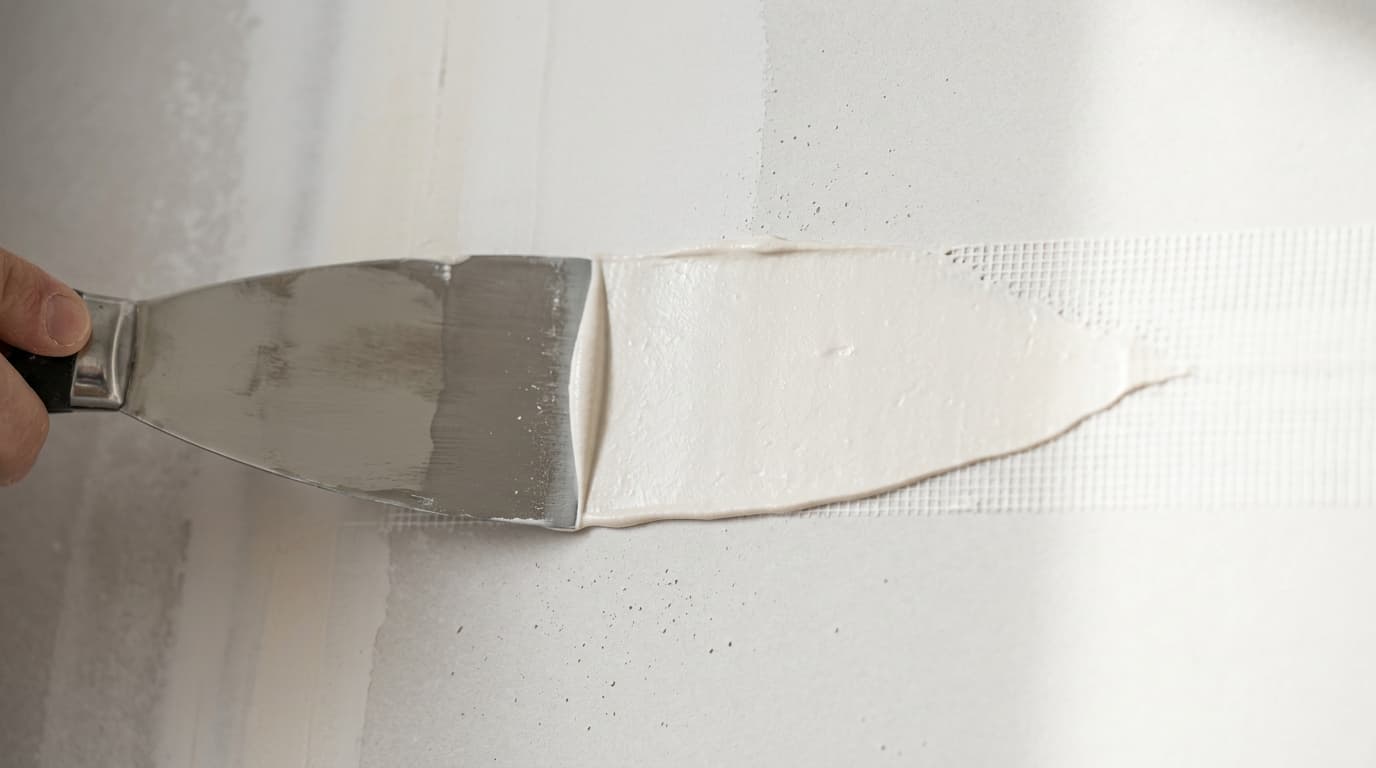
Drywall repair is budgeted by the size and type of damage: a small nail or anchor hole is a quick, inexpensive patch, while a large hole, a replaced section, or water-damaged board costs progressively more. The repair itself is often the cheaper part — matching the surrounding texture and repainting the wall are what drive the total. If the damage comes from a leak, fix the water source first. These are editable planning ranges, not national averages — adjust to local quotes.
Key cost factors
- Patch size and type (small hole, large hole, section, water damage)
- Number of patches and their accessibility (ceiling vs. wall)
- Matching the existing texture (smooth, orange peel, knockdown)
- Repainting — spot vs. the whole wall to avoid a visible patch
- Underlying cause (cosmetic vs. an active leak that must be fixed first)
- Finish level and whether the wall is painted after
Quick Cost Overview
Drywall repair pricing is driven by two things: the size and type of the damage, and how hard it is to make the fix invisible afterward. A dime-sized hole is trivial; a basketball-sized hole or a water-stained ceiling section is real work.
The surprise for most people is that the patch is frequently the cheap part. Matching the surrounding texture and repainting so the repair disappears often costs as much as or more than the patch itself. Every figure here is an editable planning assumption — adjust it to your local quote.
Cost Drivers by Patch Size and Type
Damage falls into a few broad categories, each with a different amount of labor and material:
| Type of damage | Typical size | What the repair involves | Relative effort / cost |
|---|---|---|---|
| Small hole | Nail holes, anchor holes, dents (up to ~1 in.) | Fill, sand, spot-prime | Lowest |
| Medium / large hole | Doorknob to fist size (up to ~6 in.) | Backing or mesh, patch compound, sand, feather | Low–moderate |
| Section replacement | Larger than a patch can span | Cut out, add backing, screw in new board, tape, mud, sand | Moderate–high |
| Water-damaged board | Varies — ceilings and walls | Fix source first, remove wet board, dry framing, replace, finish | Highest (plus source repair) |
Several small holes in one room are cheaper per hole than one isolated patch, because the painter is already set up. Ceiling patches generally cost more than wall patches of the same size because overhead work is slower.
The Hidden Cost: Matching Texture and Repainting
Getting the patch smooth is only half the job. Two finishing steps often cost more than the patch:
- Texture matching. If the wall or ceiling is textured — orange peel, knockdown, or a popcorn ceiling — the patch has to be re-textured to blend. Matching an existing texture by hand or spray is a skill, and a mismatch is obvious even after painting.
- Repainting. A fresh patch rarely blends with aged paint. A spot repaint can “flash” (show as a slightly different sheen or shade), so the safe result is often repainting the entire wall corner to corner. That turns a small patch into a wall-sized paint job.
Because repainting the whole wall is common, it is worth estimating that paint cost alongside the patch. Our interior painting approach — measuring paintable wall area, not floor area — is the right way to budget that repaint.
When Drywall Damage Signals a Bigger Problem
Not all drywall damage is cosmetic. Some of it is a symptom, and patching over it without fixing the cause wastes money and hides a worsening problem.
- Water stains, bubbling paint, or soft/sagging drywall point to an active leak — a roof, a supply or drain line, a failed shower pan, or condensation. Find and fix the water source first. If you patch over a live leak, the new drywall will fail too, and you risk mold inside the wall or ceiling.
- Recurring cracks in the same spot, especially above doors or along a ceiling line, can reflect normal settling — or, if they widen over time, a structural or foundation issue worth a professional look.
- Nail or screw “pops” are usually minor fastener movement, but widespread popping can indicate framing moisture changes.
When moisture is involved, dry the cavity fully and confirm the source is fixed before closing the wall. If mold is present beyond a small area, treat it as a remediation job, not a drywall job.
DIY vs. Professional
Small holes and dents are among the most DIY-friendly repairs: a tub of patching compound, a putty knife, sandpaper, and a little patience handle nail holes and anchor holes well. Medium holes with a mesh or peel-and-stick patch are also within reach for a careful homeowner.
Where a professional earns the fee: taping and mudding a replaced section so the seams vanish, matching an existing texture, ceiling work, and achieving a flat, flash-free finish on a repaint. Taping and texture matching are genuine skills — a visible bad patch often costs more to fix than it would have to hire out originally.
Lead Paint Caution for Pre-1978 Homes
If your home was built before 1978, the existing paint over the drywall may be lead-based. Sanding a patch or cutting out a section disturbs that paint and can release lead dust, a serious health hazard. For pre-1978 homes, use lead-safe work practices — contain the area, minimize dust, clean up carefully — and consider an EPA Lead-Safe Certified contractor for anything beyond a tiny spot. When in doubt, test before sanding or cutting.
Common Budget Mistakes
- Budgeting only for the patch and forgetting that texture matching and repainting often cost more.
- Patching over a leak. Fix the water source first; otherwise the repair fails and you risk hidden mold.
- Assuming a spot repaint will blend — it often “flashes,” so plan to repaint the whole wall.
- Underestimating texture matching, which is skilled work and obvious when done poorly.
- Ignoring lead-safe practices when sanding or cutting in a pre-1978 home.
- Treating a national "average" as your quote. Always confirm locally.
Frequently asked questions
- How is drywall repair priced?
- By the size and type of damage — small hole, large hole, replaced section, or water-damaged board — plus the finishing work. Finishing is often the larger cost: matching the existing texture and repainting so the patch is invisible frequently costs as much as or more than the patch itself.
- Do I have to repaint the whole wall after a patch?
- Often, yes. A fresh patch rarely blends with aged paint, and a spot repaint can show as a different sheen or shade — called flashing. Painting the whole wall from corner to corner is the reliable way to make the repair disappear, so budget for that paint, not just the patch.
- What if the drywall damage is from a leak?
- Fix the water source first — roof, plumbing, or shower — and let the cavity dry completely before replacing drywall. Patching over an active leak guarantees the repair will fail and risks mold inside the wall. If mold is present beyond a small area, treat it as a remediation job rather than a simple repair.
Sources & pricing methodology
- Renovation Cost Lab editable demonstration datasetDefault cost ranges by patch type are reasonable planning assumptions, not verified national averages. See our pricing methodology.
- EPA Lead Renovation, Repair and Painting (RRP) Program (general reference)General reference on lead-safe practices for homes built before 1978; verify current requirements for your situation.https://www.epa.gov/lead/lead-renovation-repair-and-painting-program
See our full pricing methodology and editorial policy.