
Blown-In Insulation Cost: Fiberglass vs. Cellulose Loose Fill
By Renovation Cost Lab Editorial · Last reviewed 2025-01-01
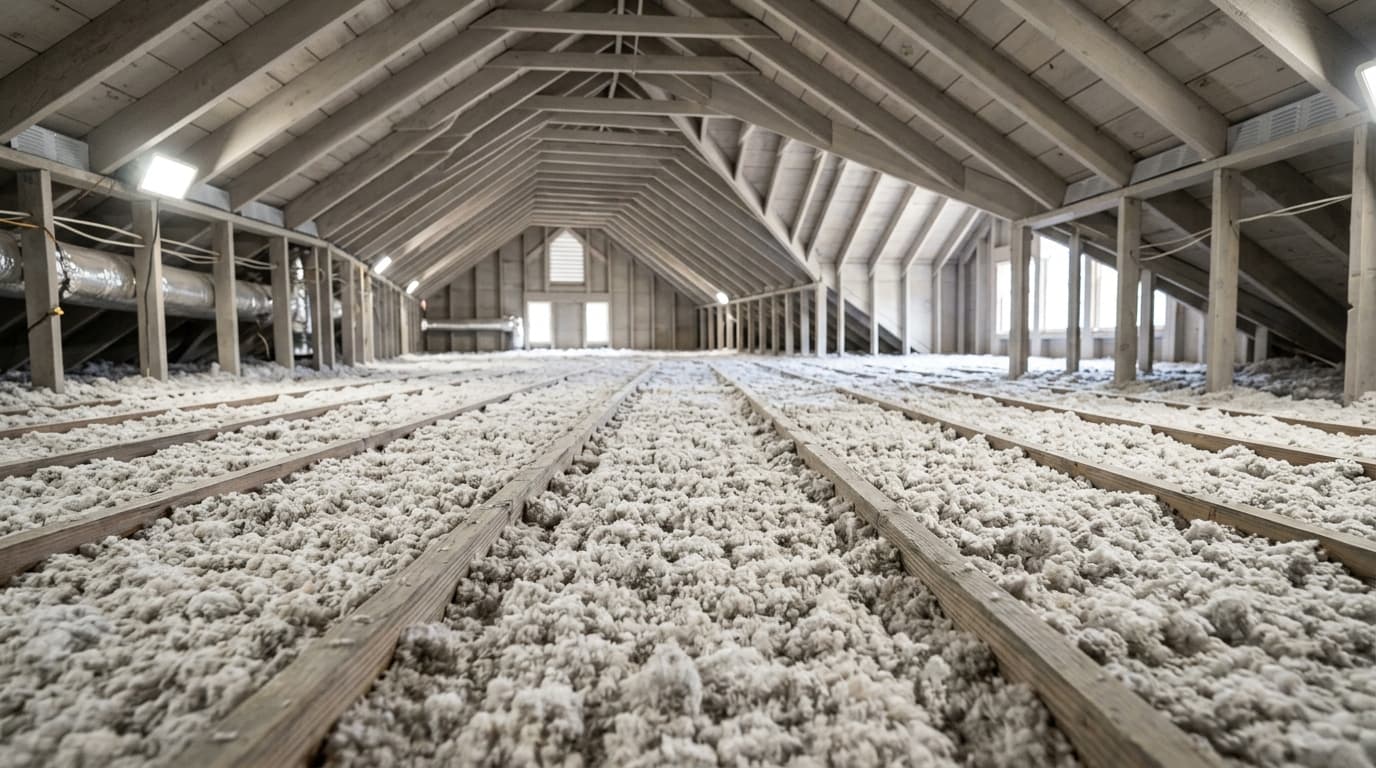
Blown-in insulation is usually budgeted per square foot, and the figure scales with how deep you blow the material to reach your target R-value. As an editable planning range, loose-fill fiberglass and cellulose are among the lower-cost ways to cover an open attic floor; cellulose packs more R per inch, so it often needs less depth than fiberglass for the same target. These are planning assumptions — adjust them to local quotes, and remember insulation reduces heat transfer but does not guarantee a specific energy bill.
Key cost factors
- Area covered in square feet
- Target R-value (climate zone and code driven)
- Material choice (loose-fill fiberglass vs. cellulose)
- Depth and bag count needed to reach the R-target
- Attic access, obstructions, and prep/air sealing
- DIY blower rental vs. professional crew labor
Quick Cost Overview
Blown-in (loose-fill) insulation is machine-blown into an attic floor or wall cavity, where it fills around framing and irregular spaces that batts struggle with. The two common materials are loose-fill fiberglass and cellulose (recycled paper fiber). Cost is almost always thought of per square foot, but the real driver underneath that number is the depth you blow to reach your target R-value.
Because cellulose delivers more R per inch than fiberglass, it typically needs less depth — and sometimes fewer bags — to hit the same R-target. All unit prices here are editable planning assumptions, not verified national averages. Replace them with your own local quotes before you commit a budget.
Cost by Material and Driver
Two homes with the same square footage can land at very different numbers depending on material, target R-value, and whether a pro is involved. The table below shows the relative cost drivers as planning ranges — not fixed prices:
| Material | R-value per inch (approx.) | Relative material cost per sq ft | Why it varies |
|---|---|---|---|
| Loose-fill fiberglass | ~2.5 | Lower end of the range | Needs more depth for a given R-target, so bag count rises |
| Cellulose | ~3.5 | Low to mid range | Denser; less depth needed, but settles over time so you over-blow slightly |
The biggest swing factors are: the R-target (a colder climate zone pushes it higher, which means more material), the area covered, access (a cramped or obstructed attic slows a crew), and whether you pay for a DIY blower rental or a professional crew. Prep such as air sealing is a separate line item — price it on its own rather than folding it into the per-square-foot figure.
R-Value, Coverage, and Depth
Your target R-value is not a single universal number — it depends on your climate zone and local building code. Attic targets commonly fall somewhere between roughly R-38 and R-60 depending on region, but you should confirm the figure with your local building department rather than assuming one value.
Once you know the target, the required depth follows from the material's R-per-inch. As a rough planning illustration, hitting a given R-target takes noticeably more depth with fiberglass (~2.5 per inch) than with cellulose (~3.5 per inch). Bag labels list a coverage chart — square feet per bag at a stated installed thickness and minimum bag count per 1,000 sq ft to reach a specific R. Follow that chart; blowing too shallow quietly short-changes your R-value, and compressing loose fill reduces its rated performance.
Cellulose settles after installation, so coverage charts tell you to blow to a higher initial depth than the final settled depth. Plan for that so your settled R still meets the target.
DIY (Blower Rental) vs. Professional
Loose-fill is one of the more DIY-approachable insulation jobs: many home centers rent or loan a blowing machine with a bulk bag purchase. A DIY run can lower the per-square-foot figure, but it is a two-person job — one feeds the hopper, one works the hose in the attic — and the labor is hot, dusty, and awkward in a confined space.
A professional crew brings a commercial blower, hits the coverage chart consistently, and finishes an attic quickly. Pay for a pro when the attic is hard to access, when old insulation must be removed first, when air sealing and depth markers need to be done correctly, or when you simply do not want to work in the space. Get the coverage/bag-count math right either way — it is what determines whether you actually reach your R-target.
When a Pro, Permit, or Hazard Check Is Needed
Adding insulation itself rarely needs a permit, but related conditions can stop a DIY job cold. Before you blow anything, check for these and bring in a qualified professional if you find them:
- Pre-1978 homes: older materials and finishes can contain asbestos or lead; disturbing them is a job for licensed specialists.
- Knob-and-tube wiring: this older wiring relies on open air to shed heat. Burying it in loose fill is a recognized fire hazard — have an electrician evaluate or replace it first.
- Moisture or mold: blowing insulation over a damp deck, a roof leak, or existing mold traps the problem and can make it worse. Find and fix the water source first.
- Recessed lighting and flues: non-IC-rated fixtures and heat-producing flues need proper clearance or shields before you bury the area.
Treat these as safety gates, not optional upgrades. When in doubt, have a professional inspect the attic before any material goes in.
Common Budget Mistakes
- Pricing by the bag instead of by coverage — the depth needed for your R-target is what sets the real bag count.
- Assuming fiberglass and cellulose cover the same depth; they do not, because R-per-inch differs.
- Ignoring settling with cellulose and blowing to the final depth instead of the higher initial depth.
- Skipping air sealing, so blown-in material sits over gaps that undercut its performance.
- Treating a national "average" as your quote. Always confirm locally.
Estimate your project
Adjust the inputs to match your project and local prices.
Attic target is often R-38 to R-60 depending on climate zone
Leave 0 to use the type default scaled to your target R-value.
Leave 0 to use the type default.
Frequently asked questions
- How is blown-in insulation priced?
- Usually per square foot of area covered, but the figure really tracks the depth you blow to reach your target R-value. Follow the bag coverage chart to convert your R-target into a bag count, then price material plus DIY rental or crew labor.
- Is cellulose or fiberglass cheaper to blow in?
- It depends on your R-target. Cellulose costs more per bag but packs more R per inch, so it often needs less depth; fiberglass is cheaper per bag but may need more bags for the same target. Compare total bag count for your target, not the per-bag price.
- Will blowing in more insulation lower my energy bills?
- Insulation reduces heat transfer, but it does not guarantee a specific saving. Actual results depend on air sealing, your climate, the condition of the home, and how it is used. We do not present energy savings as guaranteed.
Sources & pricing methodology
- Renovation Cost Lab editable demonstration datasetDefault unit prices are reasonable planning assumptions, not verified national averages. See our pricing methodology.
- U.S. Department of Energy — insulation R-value guidance (general reference)General educational reference for R-value and loose-fill concepts; verify current recommendations for your zone.https://www.energy.gov/energysaver/insulation
See our full pricing methodology and editorial policy.